Good afternoon friends!
I've had this guy in my closet for a couple months know while contemplating what to do with him - so many options! One suggestion was to make shorts (I'm not sure I'm ready for that yet), another option would be a one-sholder dress (I think I'll save that for next time) so I decided to make a low-to-high skirt :)
 |
| Before! |
 |
| Did I mention it only cost $0.99! |
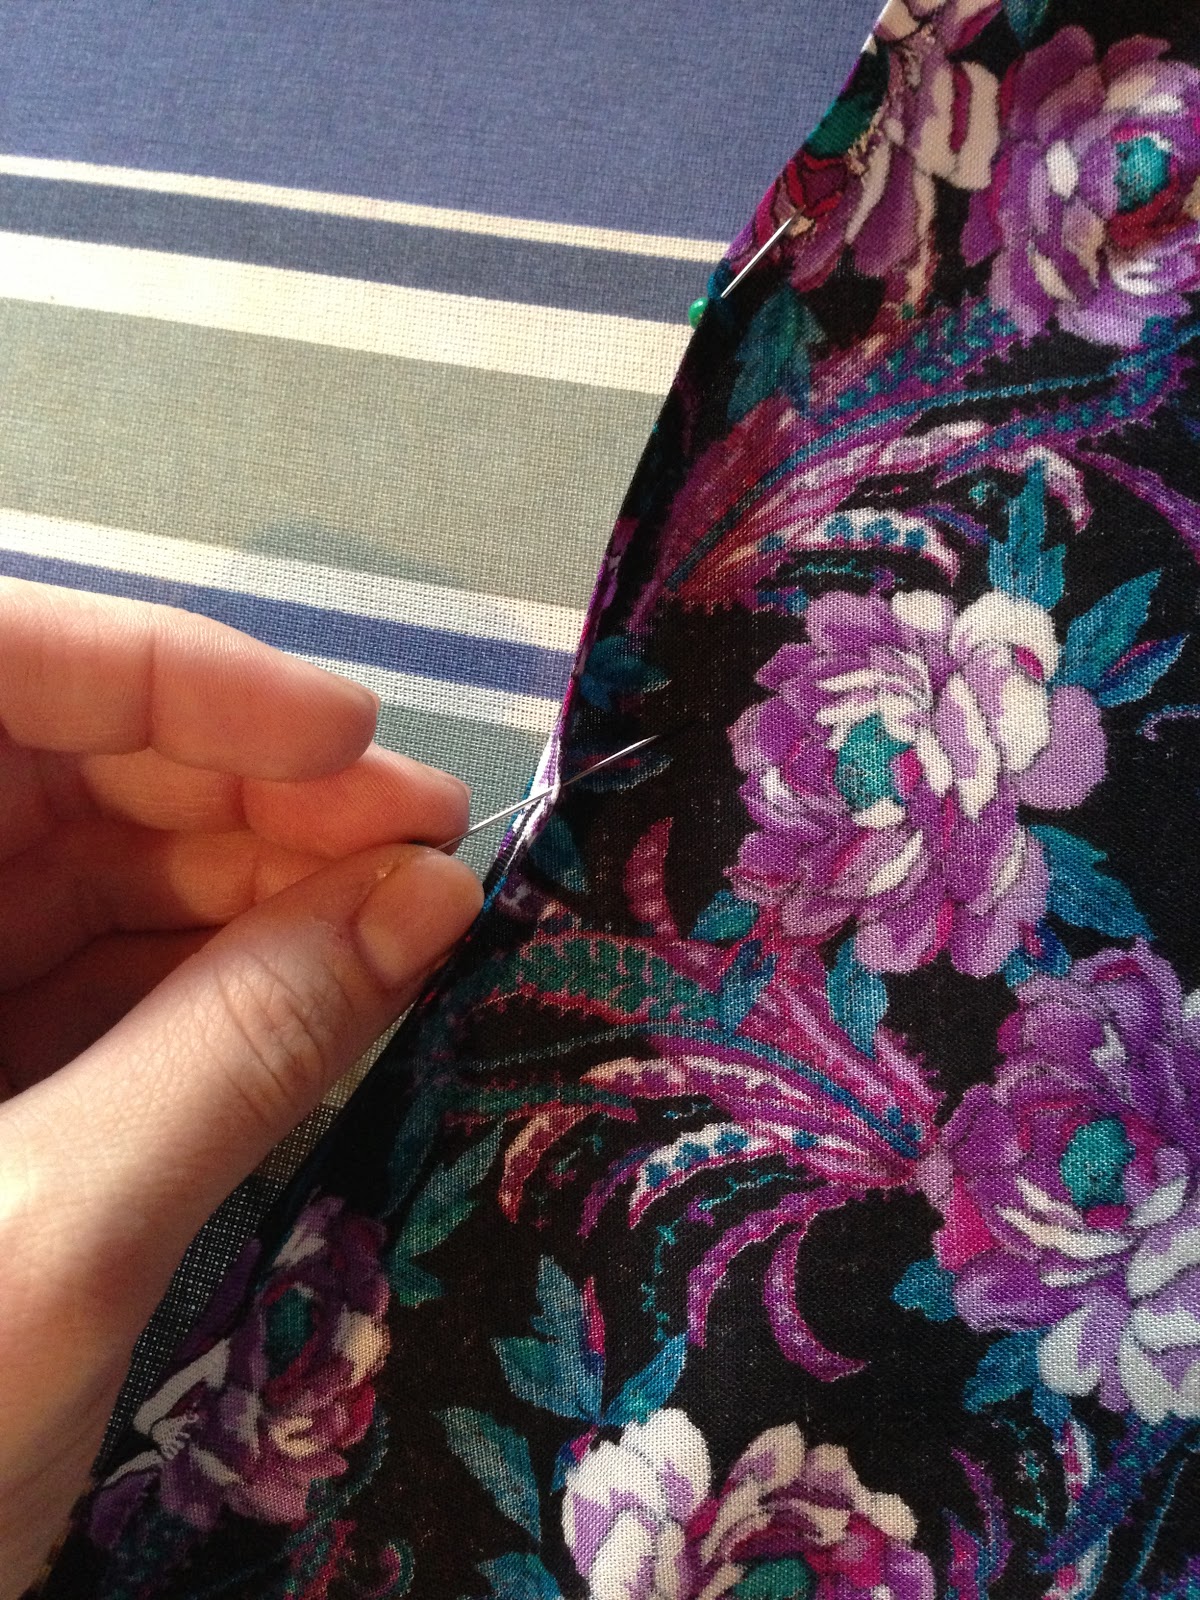
Start by turning the skirt inside out and fold it in half - I have the front to the right and back to the left. I put the skirt on and placed a pin where I wanted the skirt to fall above my knee.
Next I used white chalk to draw a line from my pin to the bottom of the skirt. Be careful to make sure the front and back are straight with the angle in-between otherwise you'll get a funny 'peak' in the front or back.
**This is the MOST IMPORTANT PART**
I pinned the skirt along the chalk line to guarantee there was no movement and crooked lines
 |
| Chop chop! |
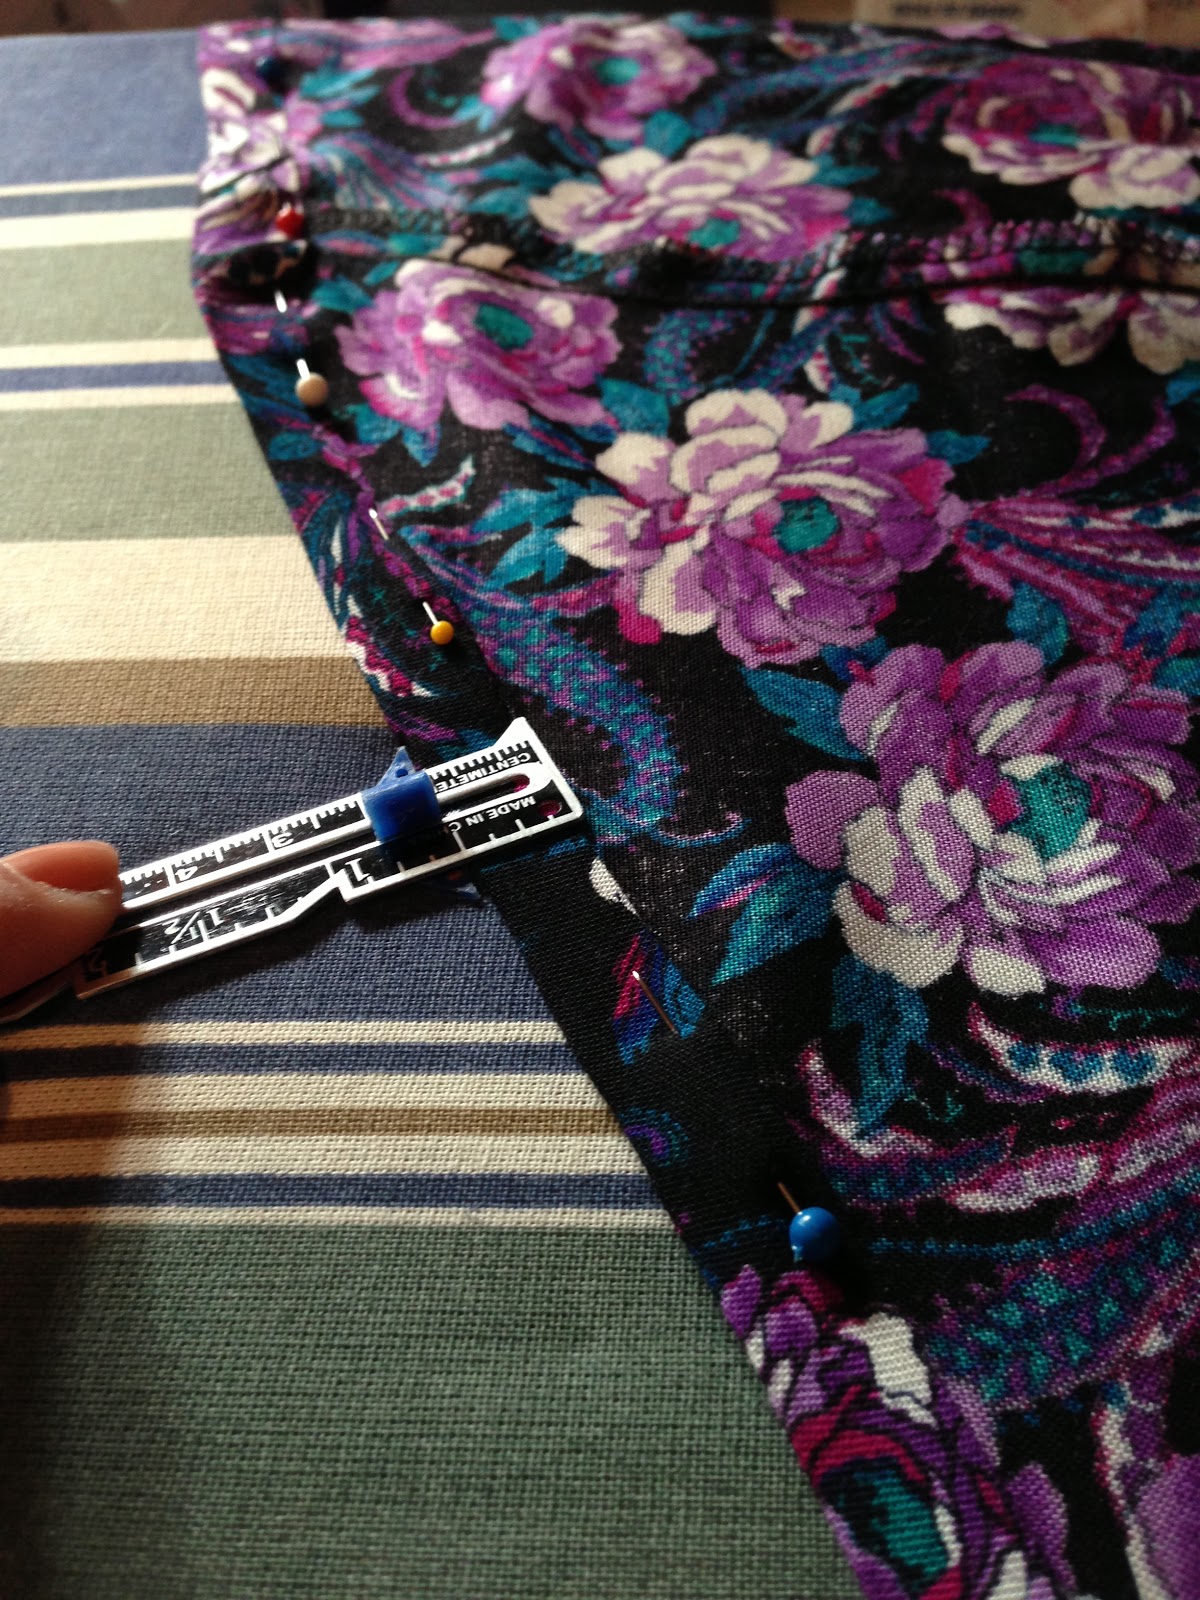
Next for the hem...
I had the skirt inside out, folded the material in 1/6" (roughly) and pinned the outside - it was awkward at first but it made the next step easier.
After I pinned the skirt in 1/6" (roughly) all the way around I started the second fold. This I did at 1/2" using this handy-dandy tool thingy [below], ironed and pinned it down. This will give it a nice finish!
 |
| The hem |
Sewing time!
Gave it a quick iron and thats it!
 |
| After! |
 |
| Love it!! |
 |
| before & after |
Thank you for stopping by!
Give it a try and let me know how it goes!!